Add text to a cookie cutter bar with CADit
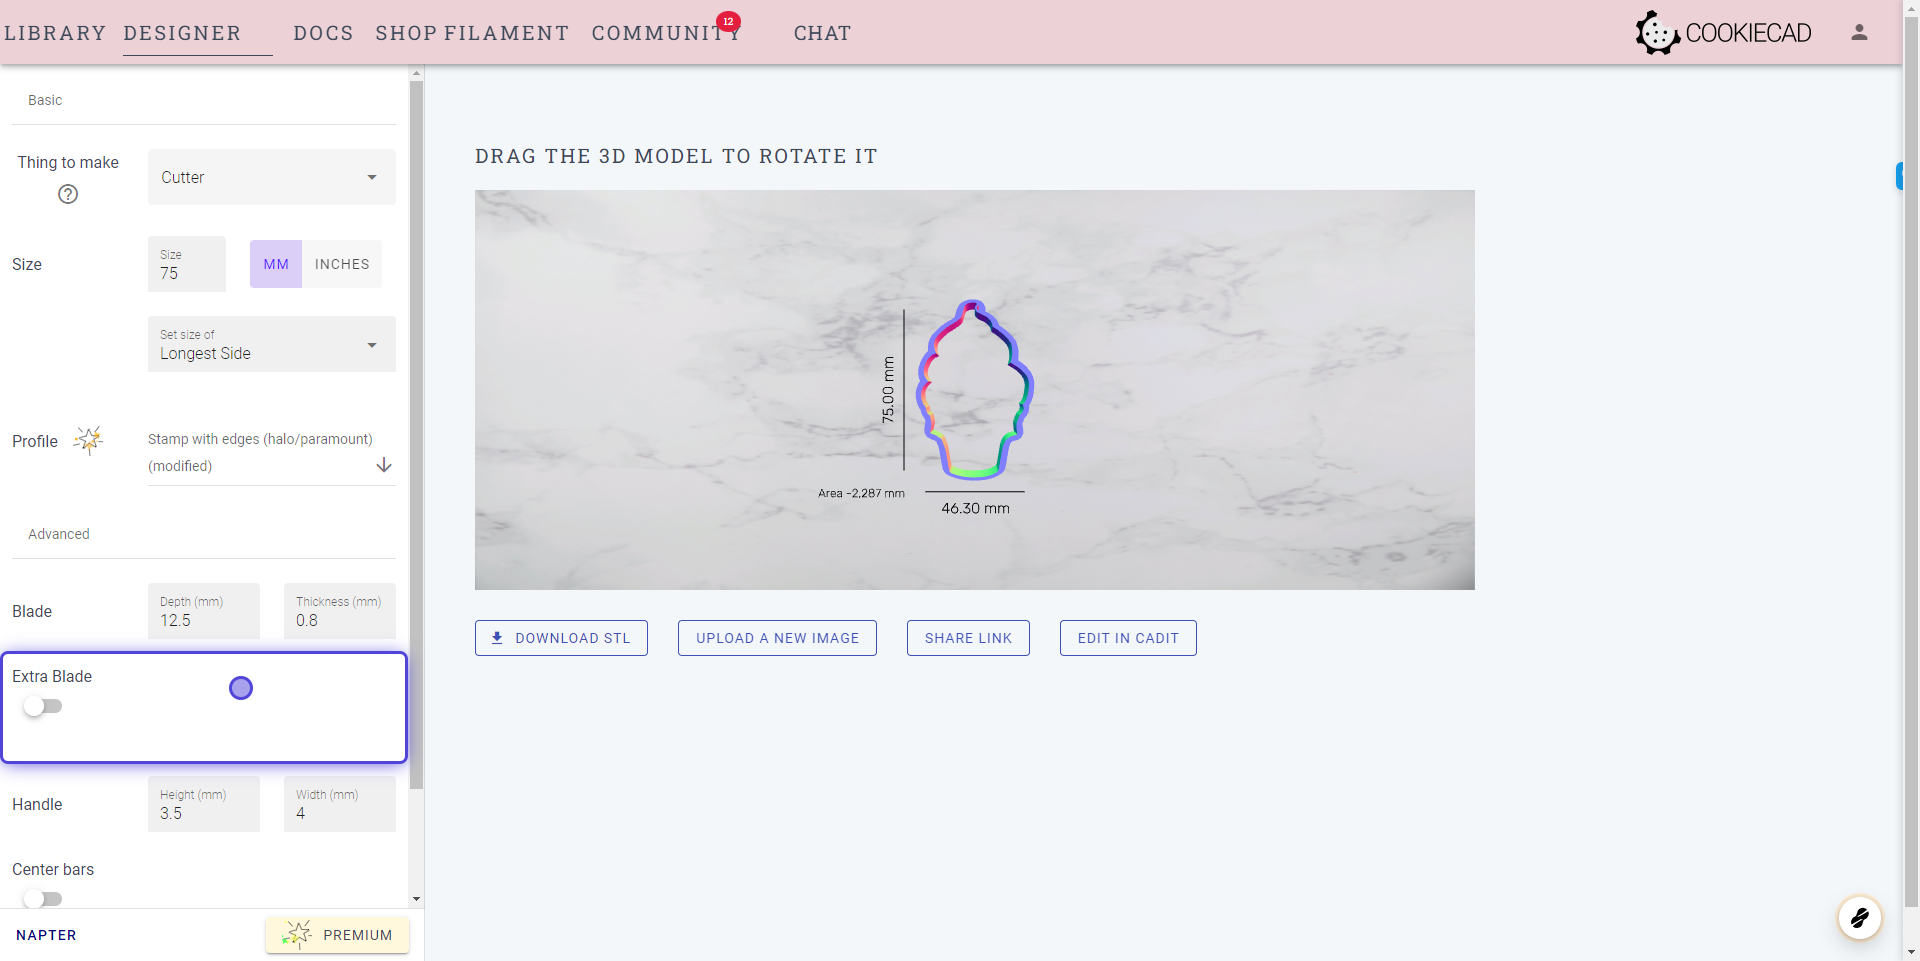
1. Start with your cutter at app.cookiecad.com
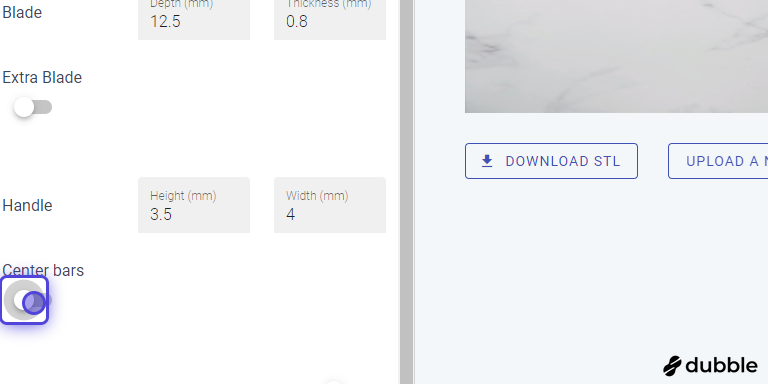
2. Click to add a center bar
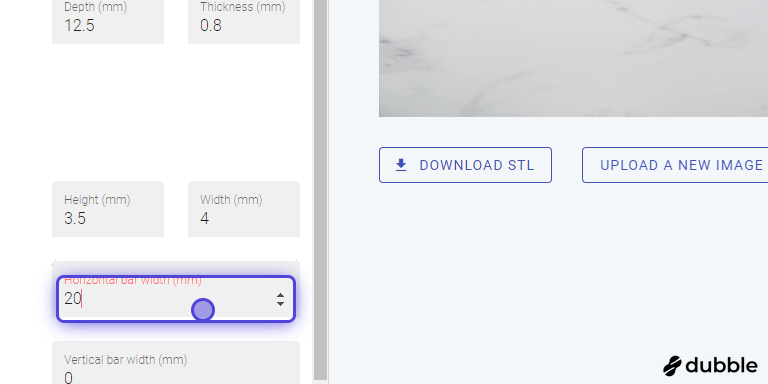
3. Let's make it wider to give room for the text
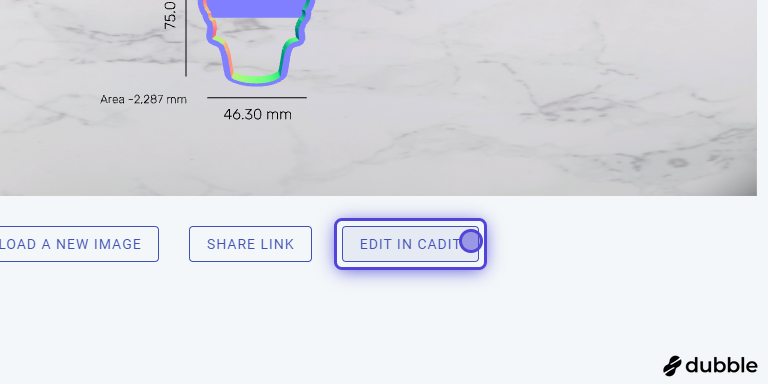
4. Click on EDIT IN CADIT
This will bring the cookie cutter into CADit where we can add text
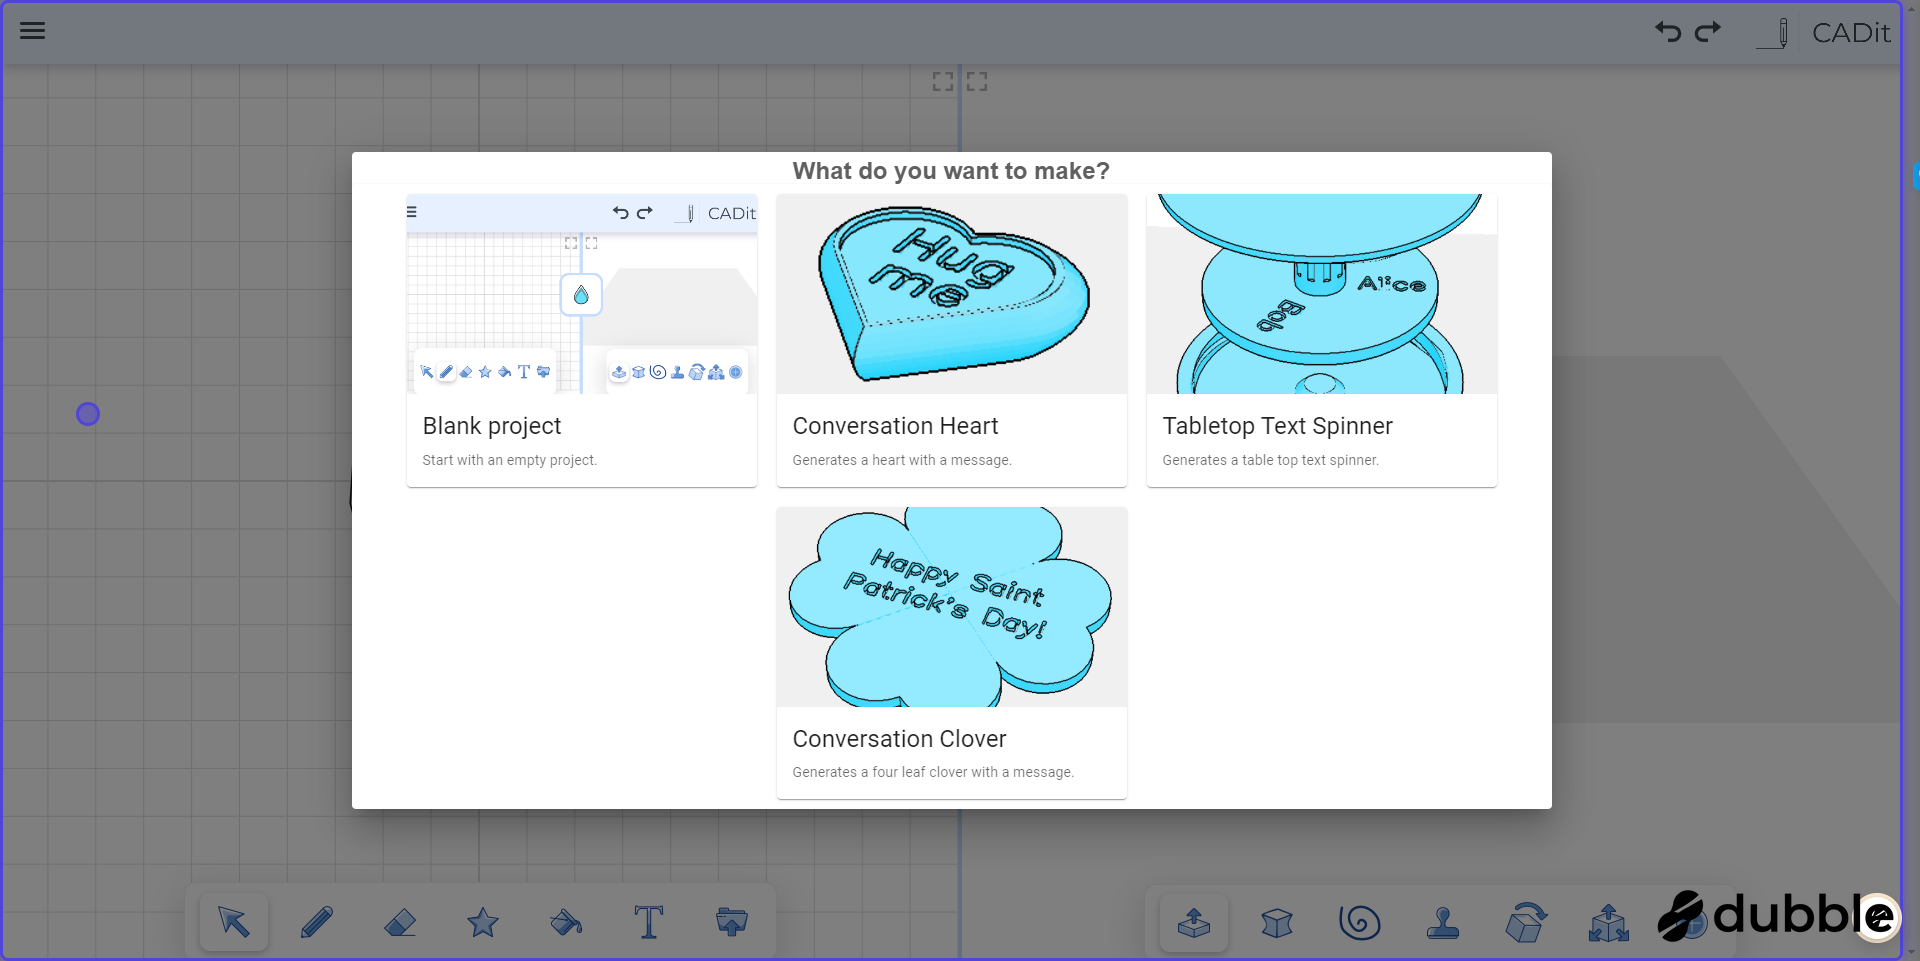
5. Once in CADit, close the popup
Either click "Blank Project" or just close the "What do you want to make" popup
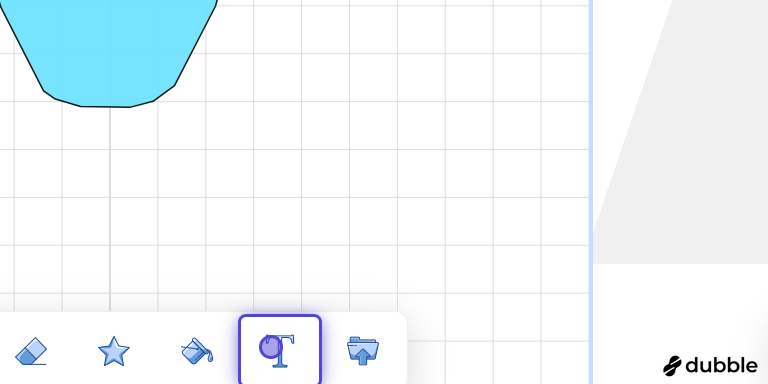
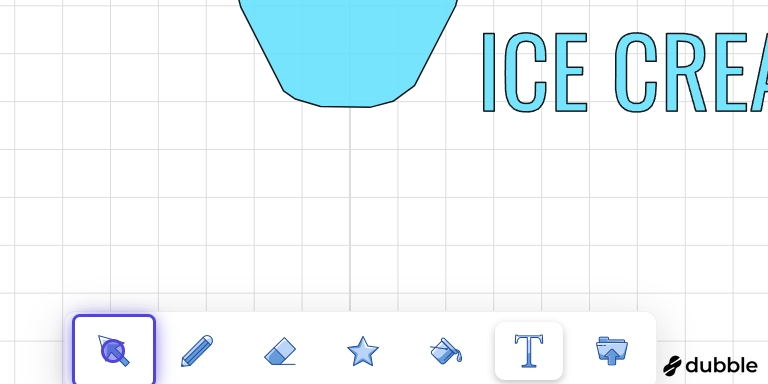
6. Click on the Text tool
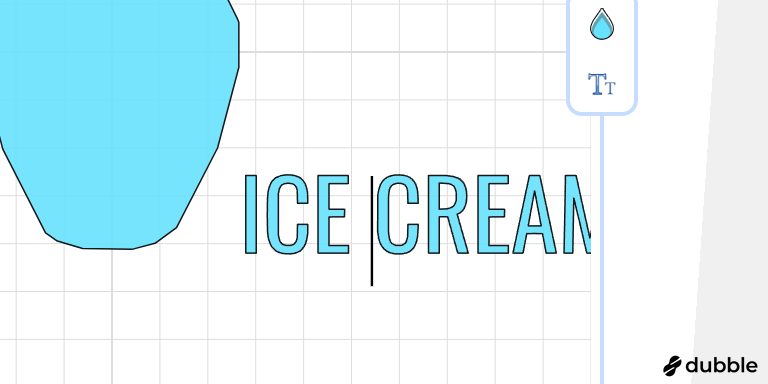
7. Type your text
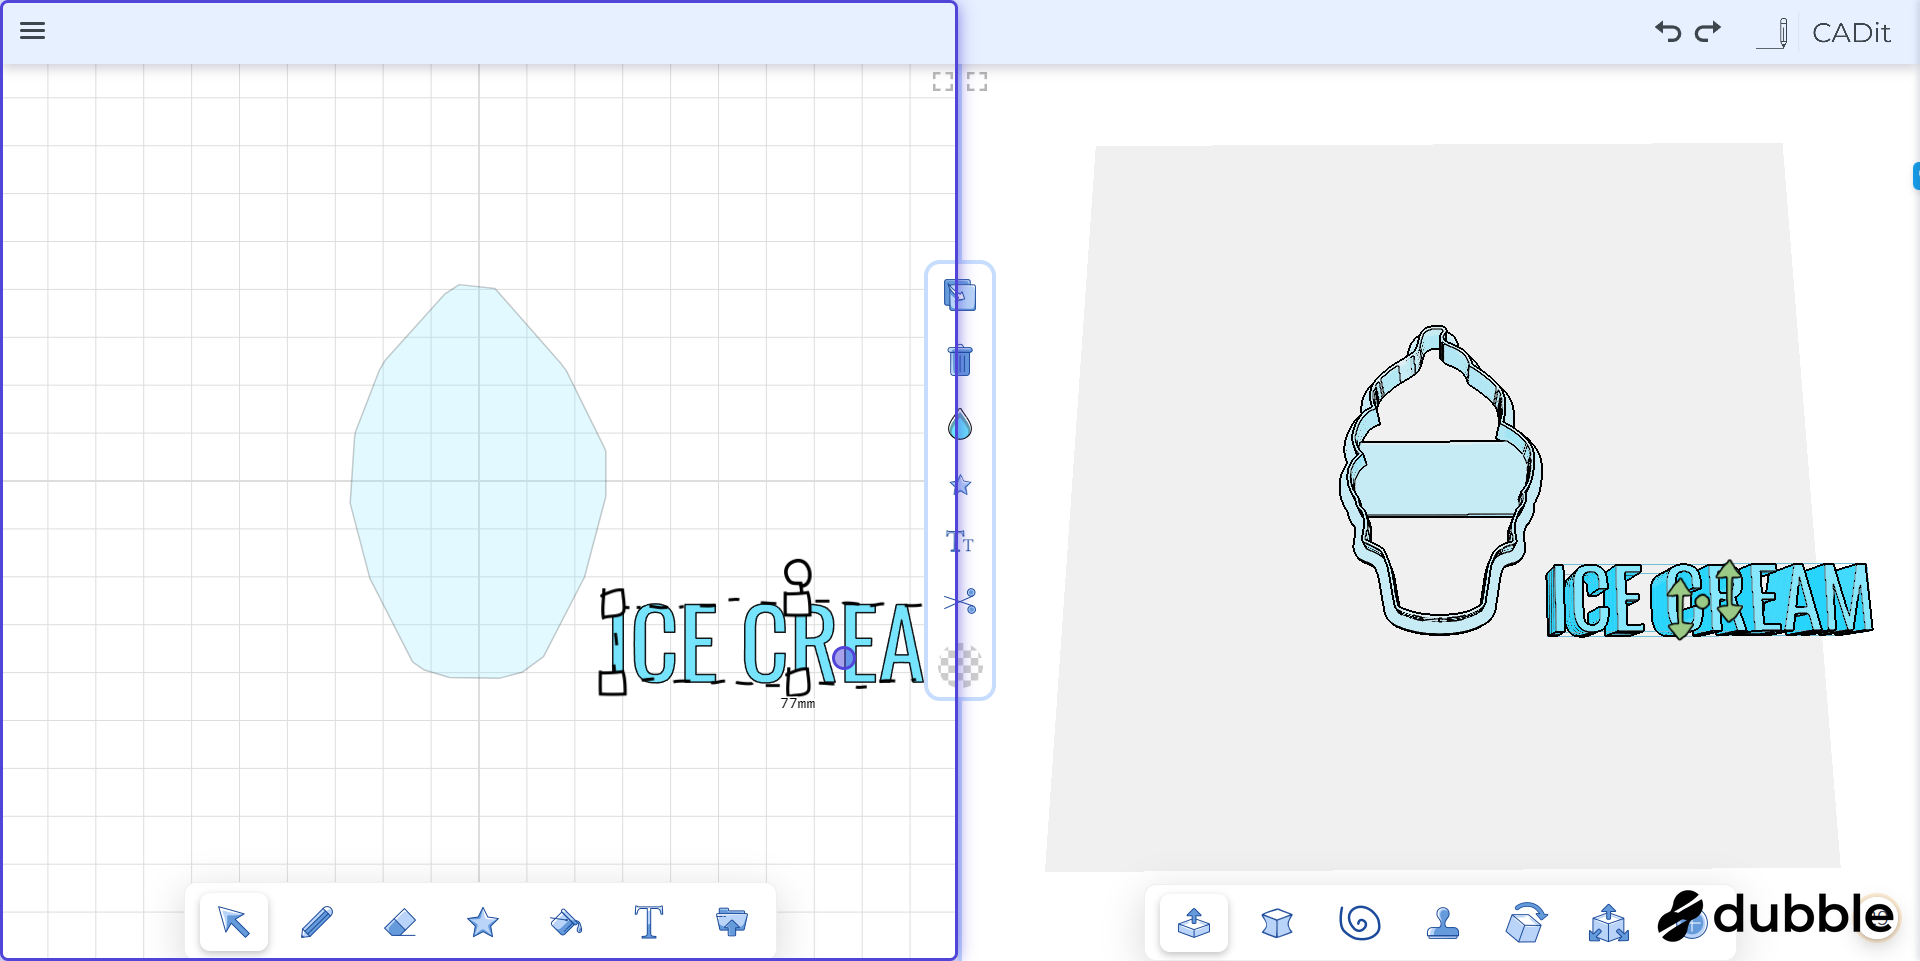
8. Now, click on the select tool
We will select the text and drag the it to the proper location and size
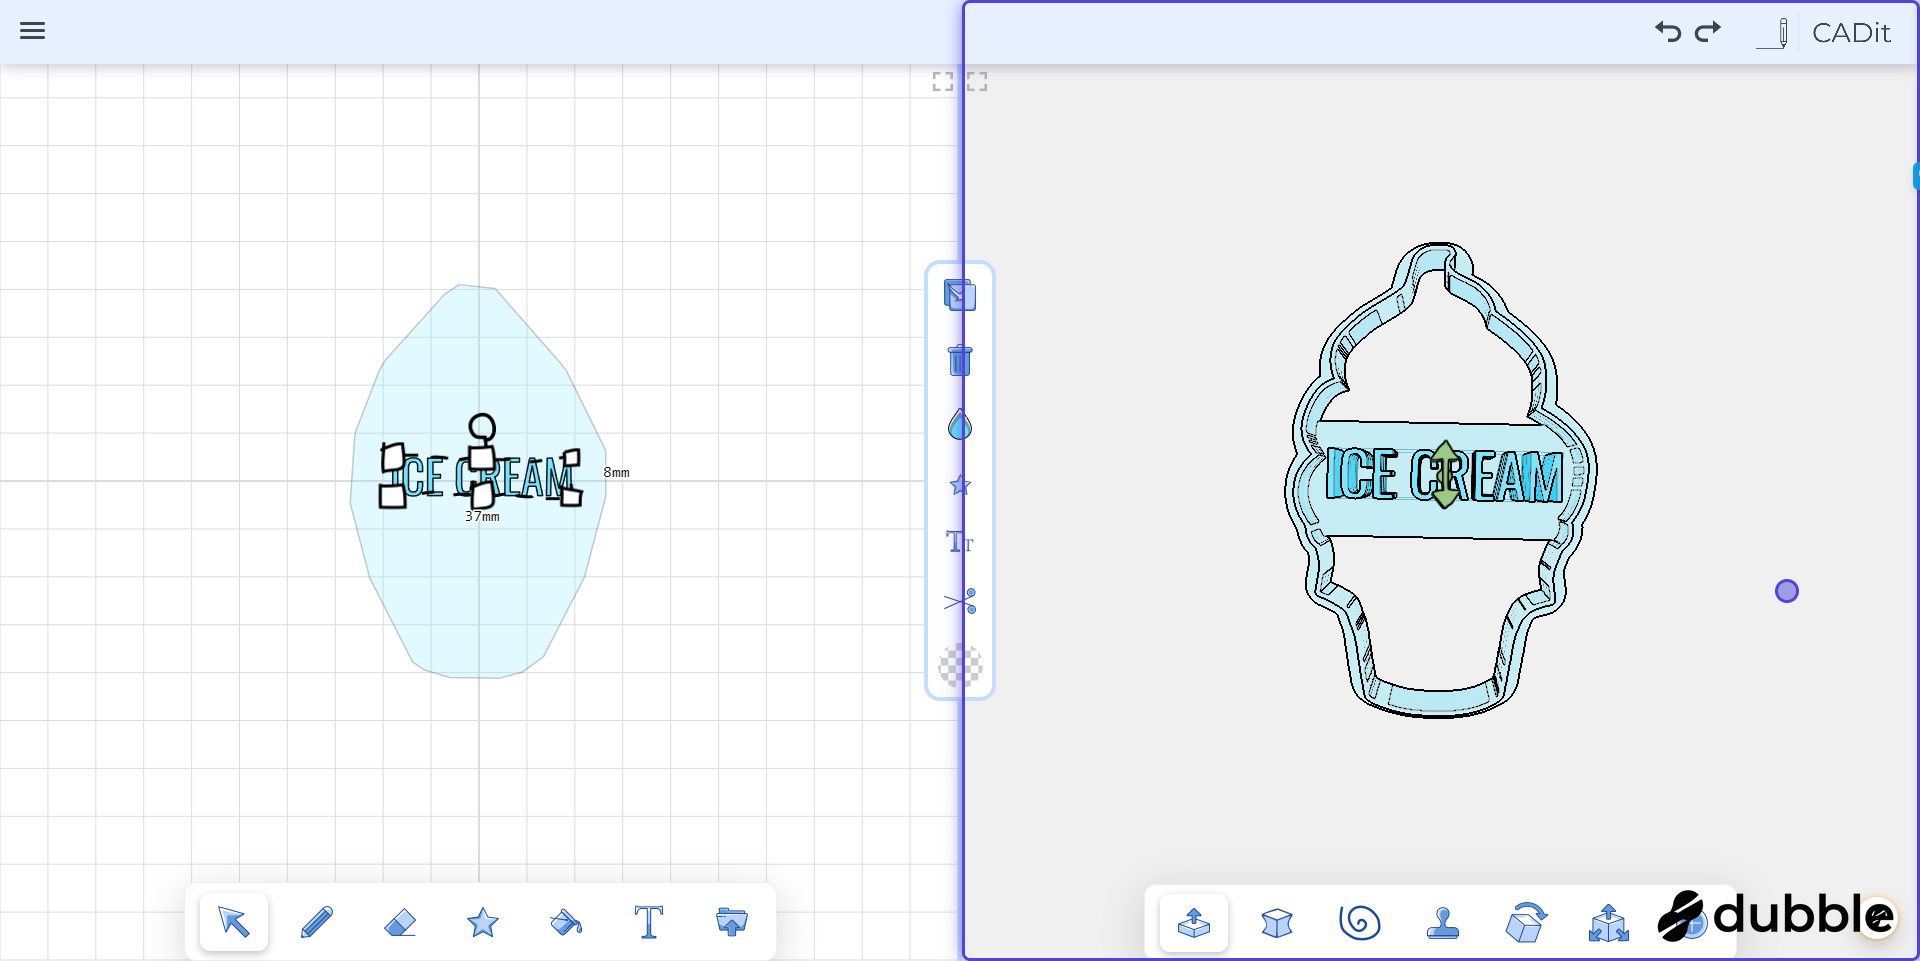
9. Click on the text and drag it to the bar
10. Click and drag a corner to adjust the size

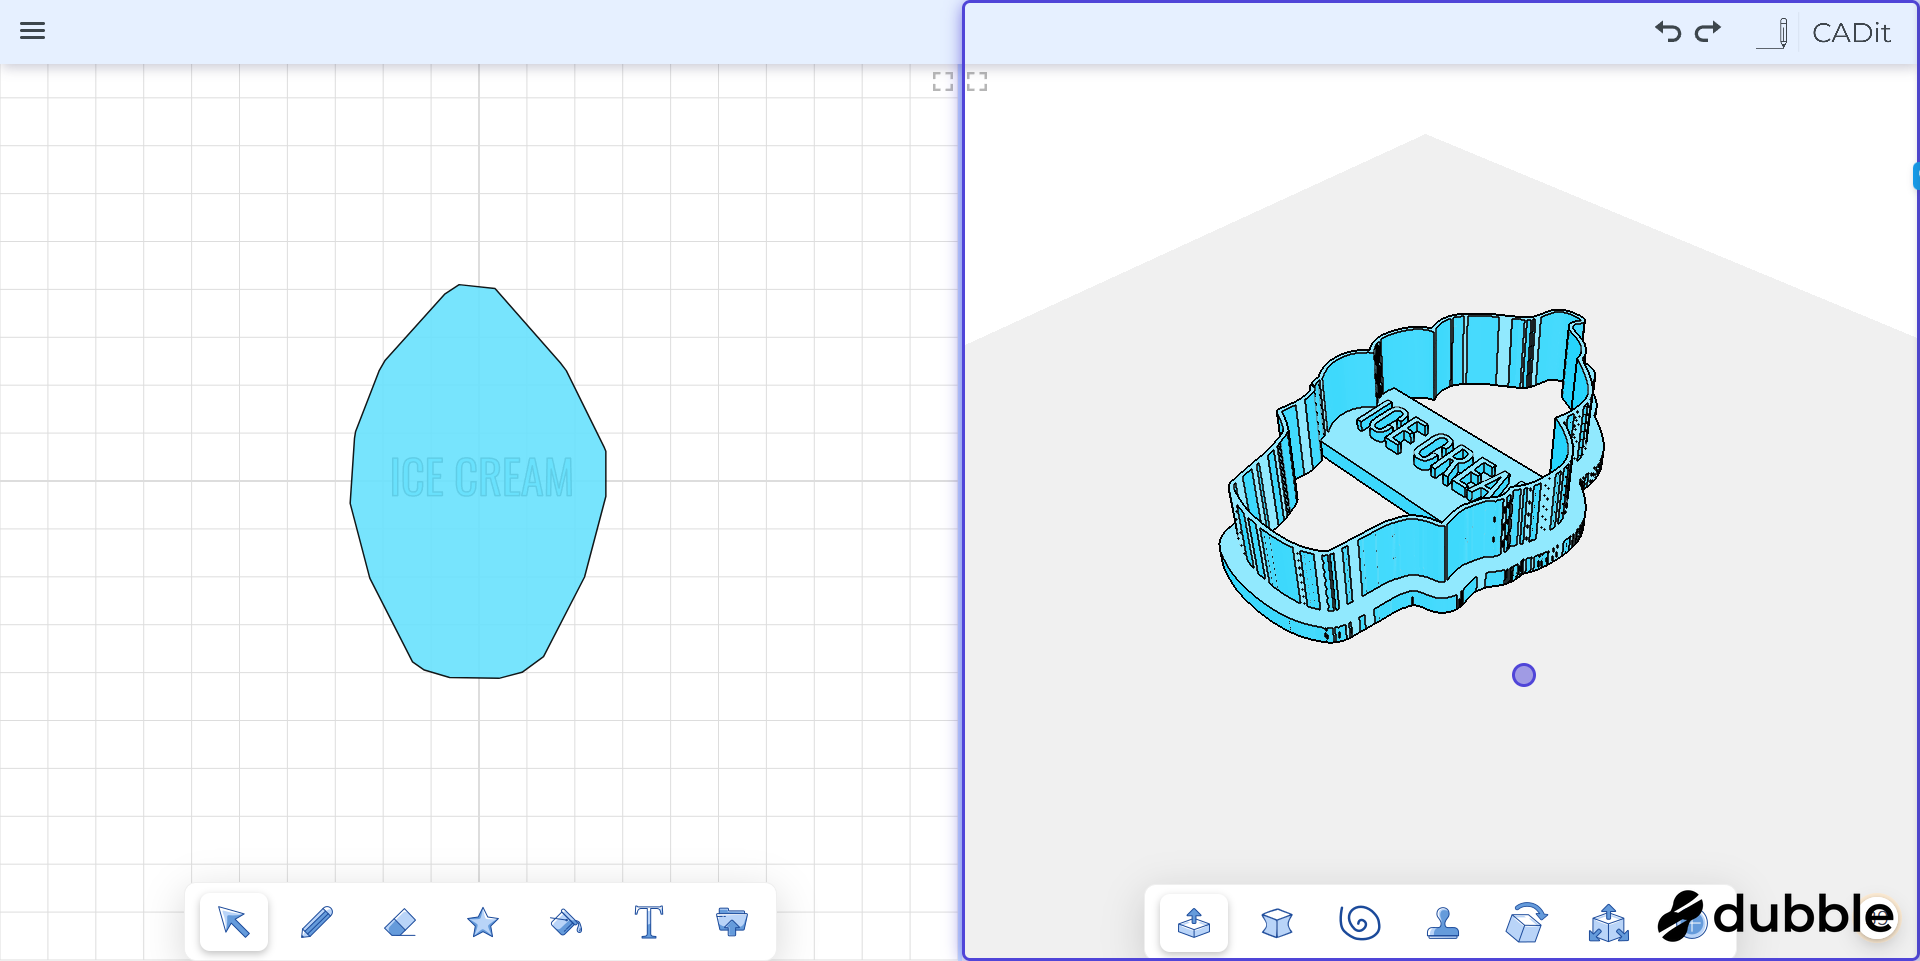
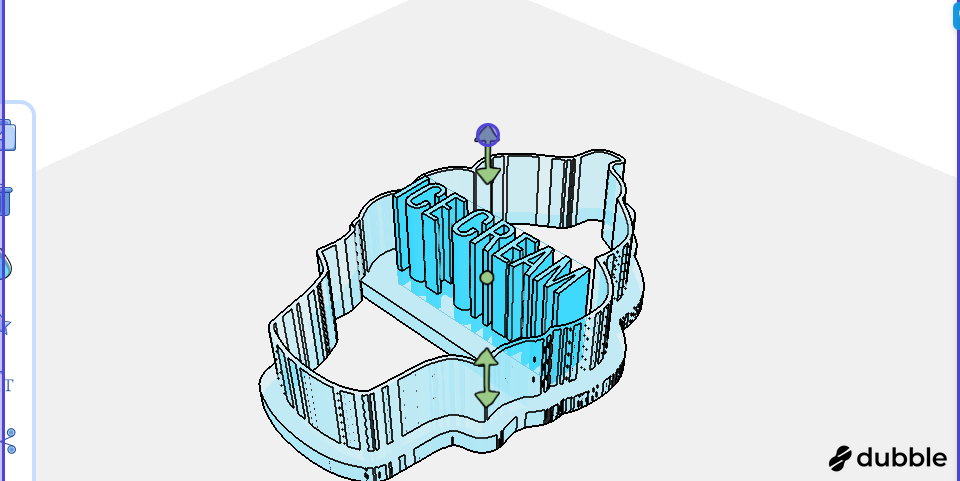
11. Rotate the 3d view so you can see how tall the text is
Once you are happy with the size, click and drag on a blank area in the 3d viewer to rotate the view. Rotate it so that you can see the height of the text.
12. Use the green arrow to adjust the text height
When the text is selected, you can use the height adjust tool to adjust the height of the text. Click and drag the top arrow downward to make the text shorter.
13. All Done!
To print your cutter: Click the hamburger menu and "Export STL" to download your STL for printing.