Add sunken text on two sides of an object
This guide will show how to use the text tool, how to move and rotate objects in 3d and how to edit an object's properties
1. Create a blank project in CADit.app
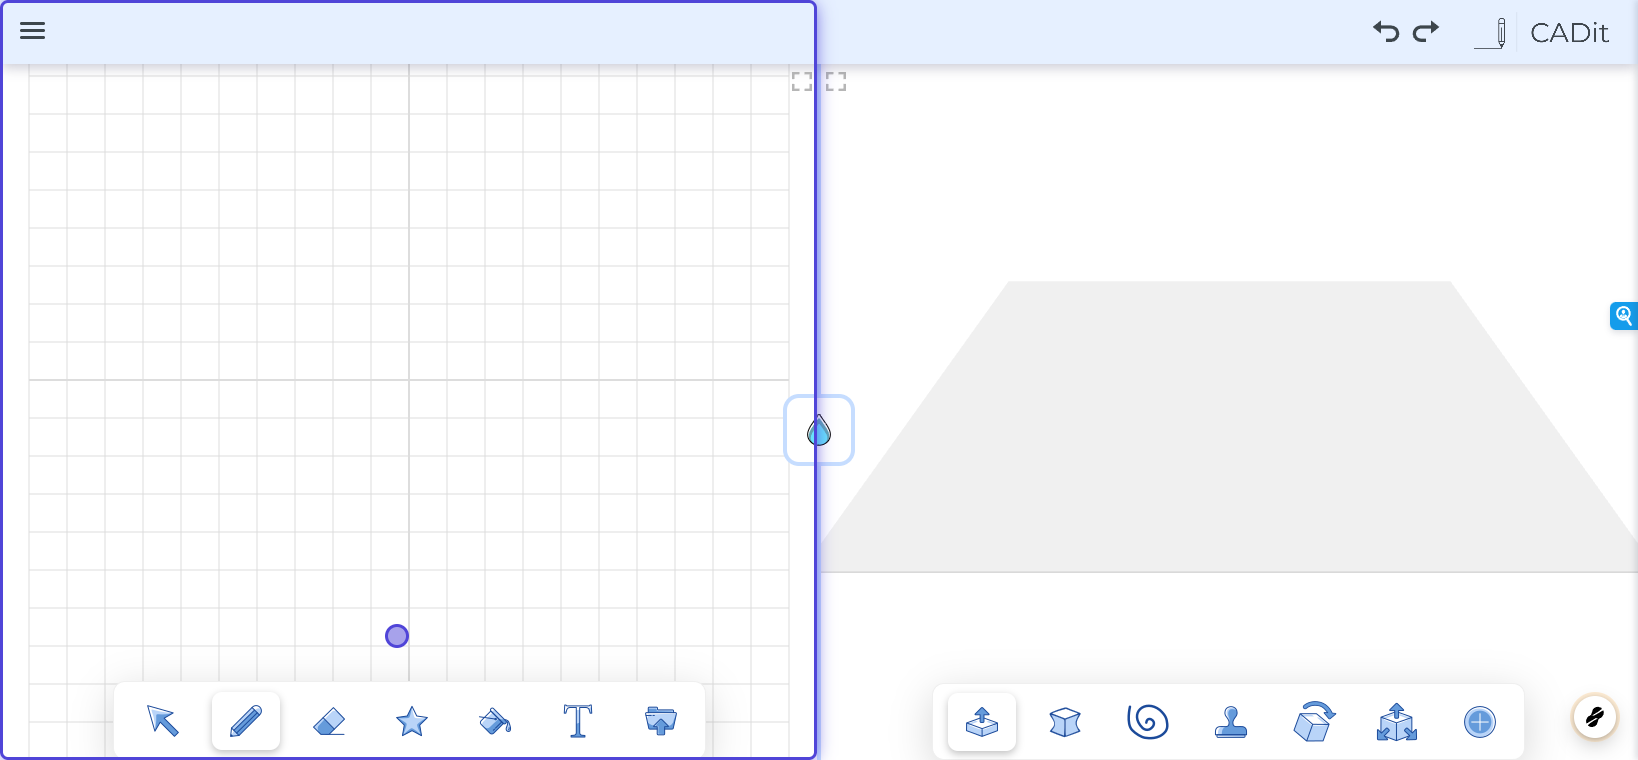
2. Click on the shape tool
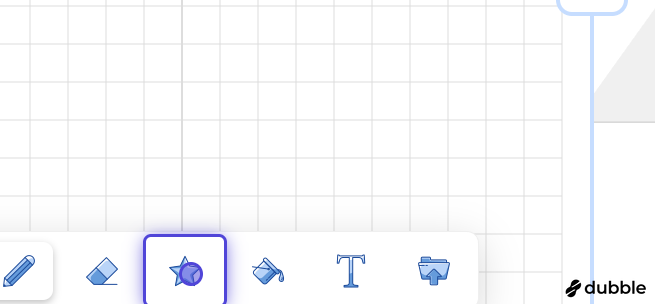
3. Select the circle

4. Click and drag to draw a circle
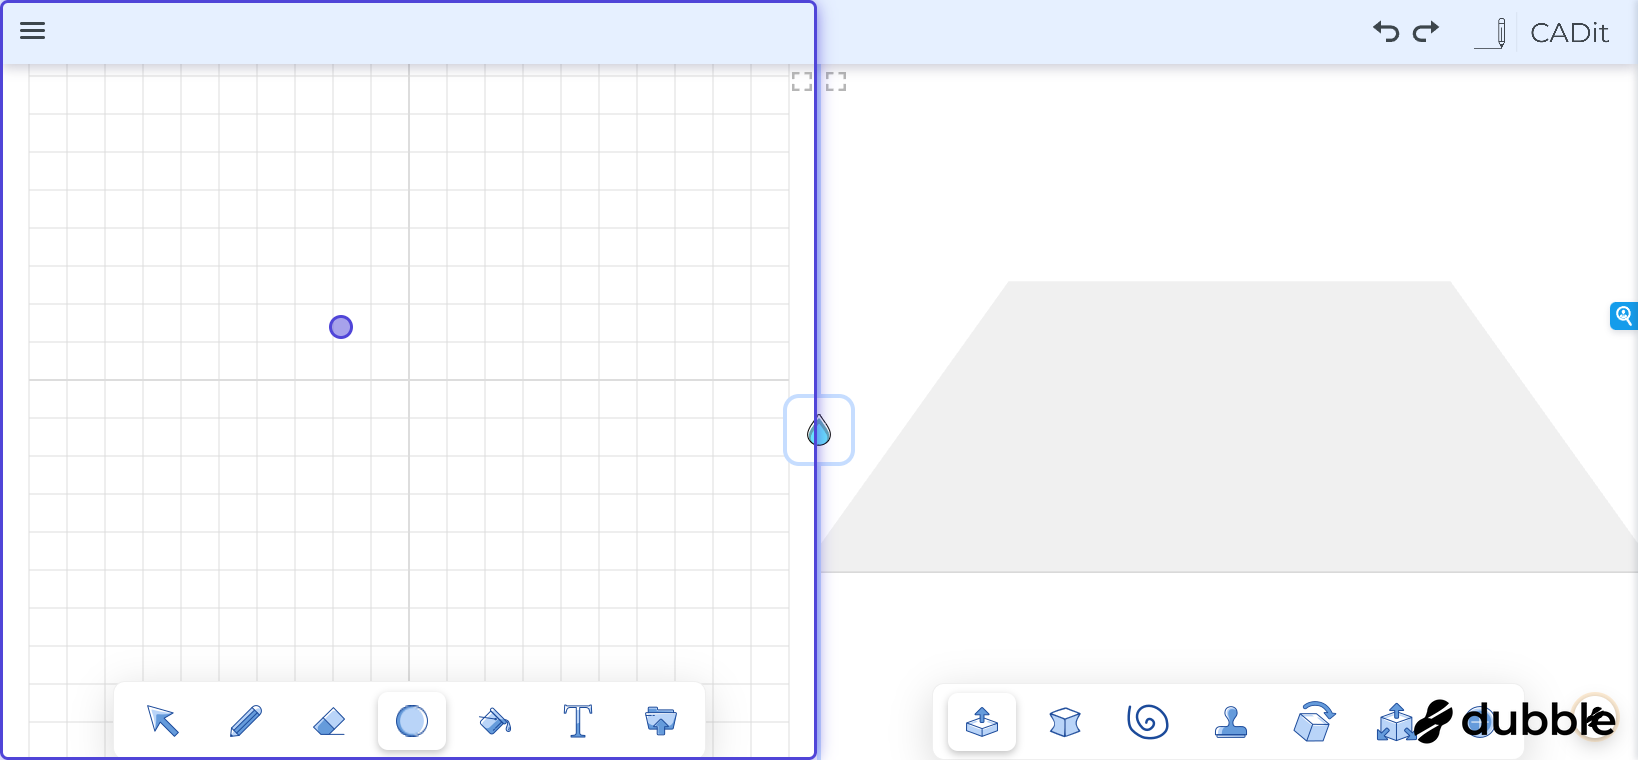
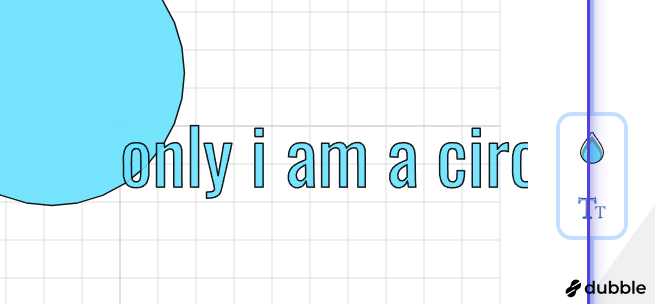
5. Select the text tool

6. Type your text
7. Switch back to the select tool

8. Select the text so we can resize it

9. Use the handlebar to resize the text
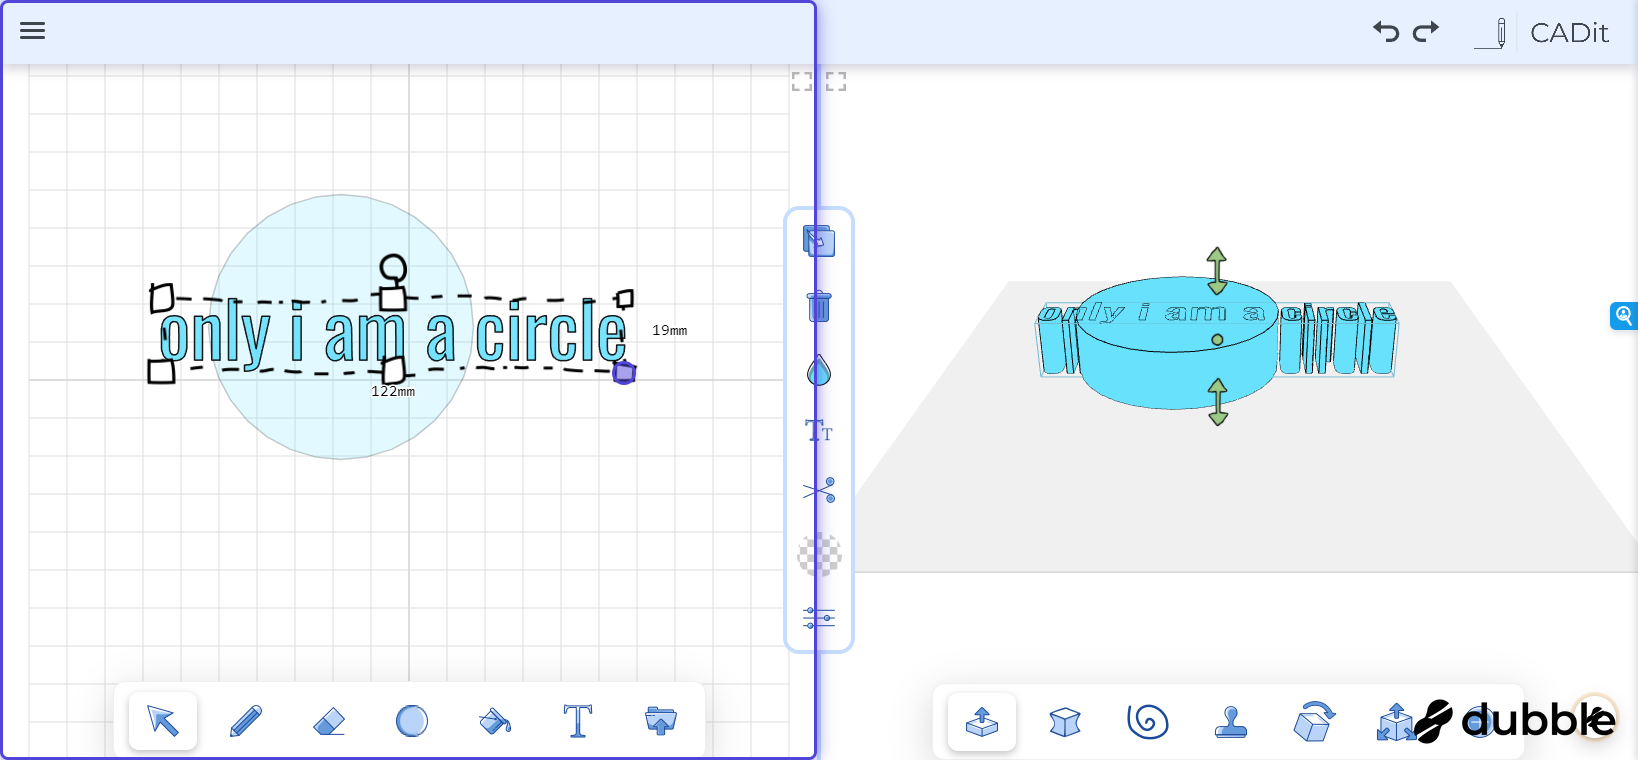
10. Now the text fits in the circle
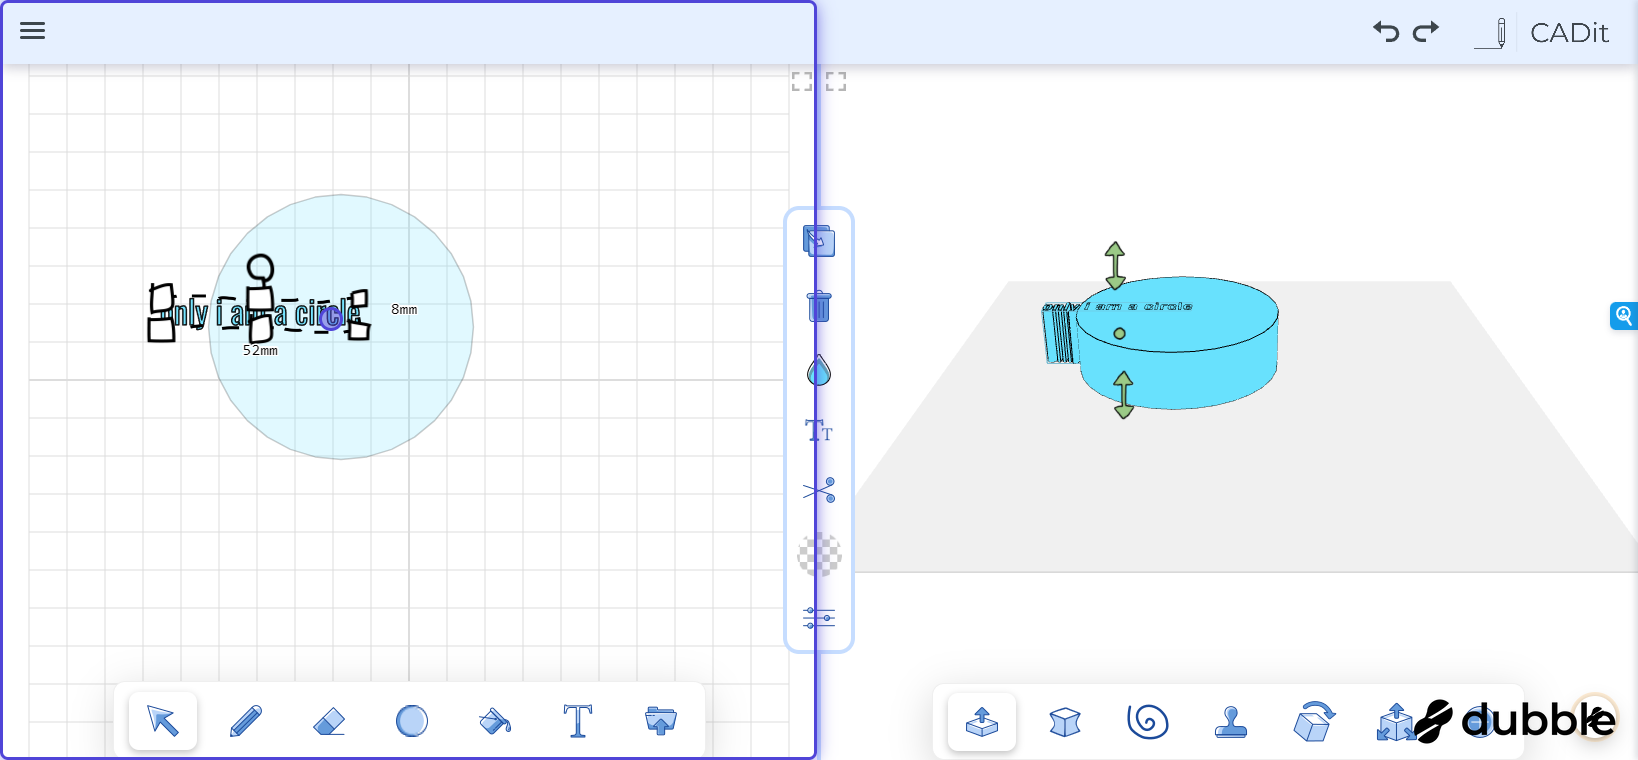
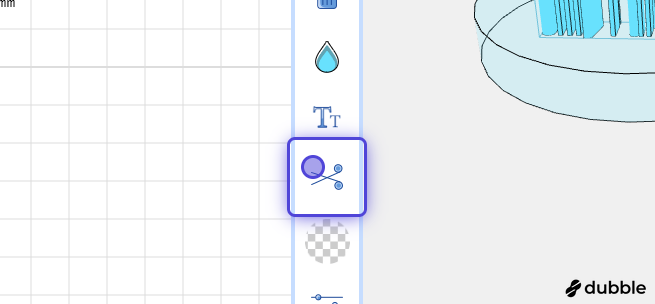
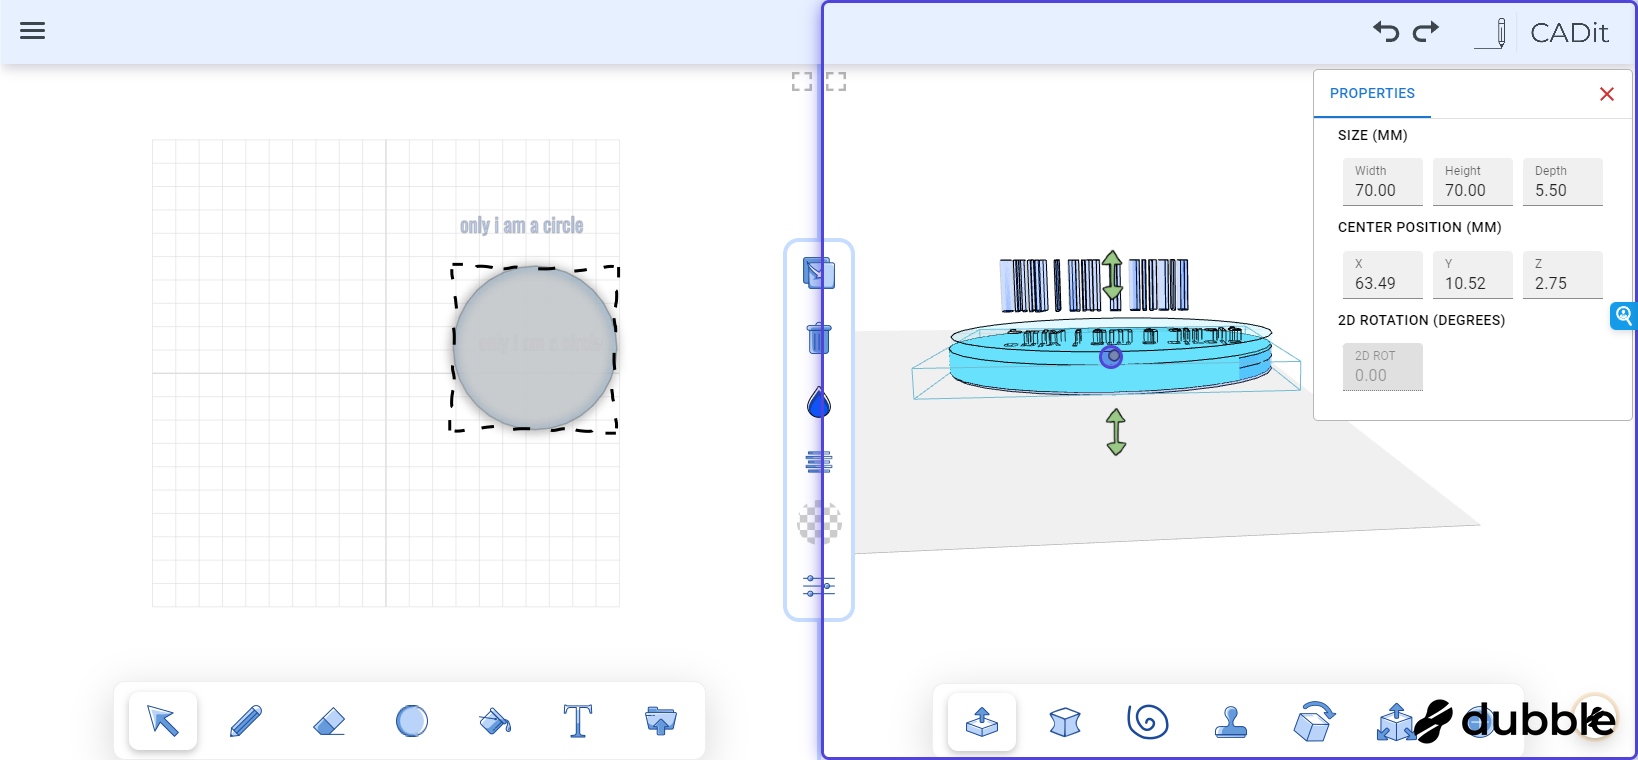
11. With the text selected, click the scissors to cut a hole in the circle
12. Now that the circle is cut, move the text out of the way
You can also delete it at this point as we will no longer need it
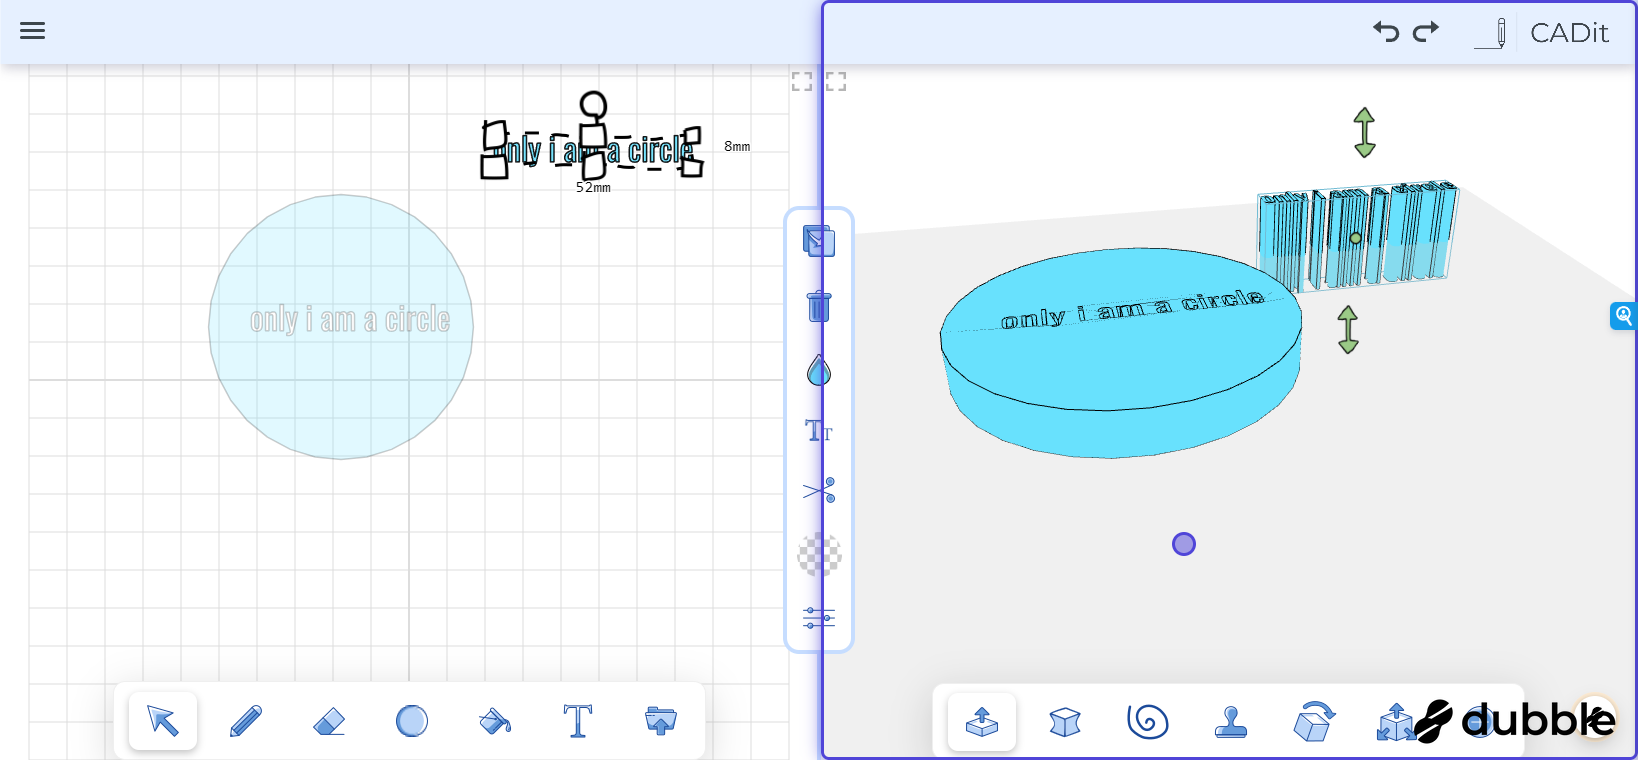
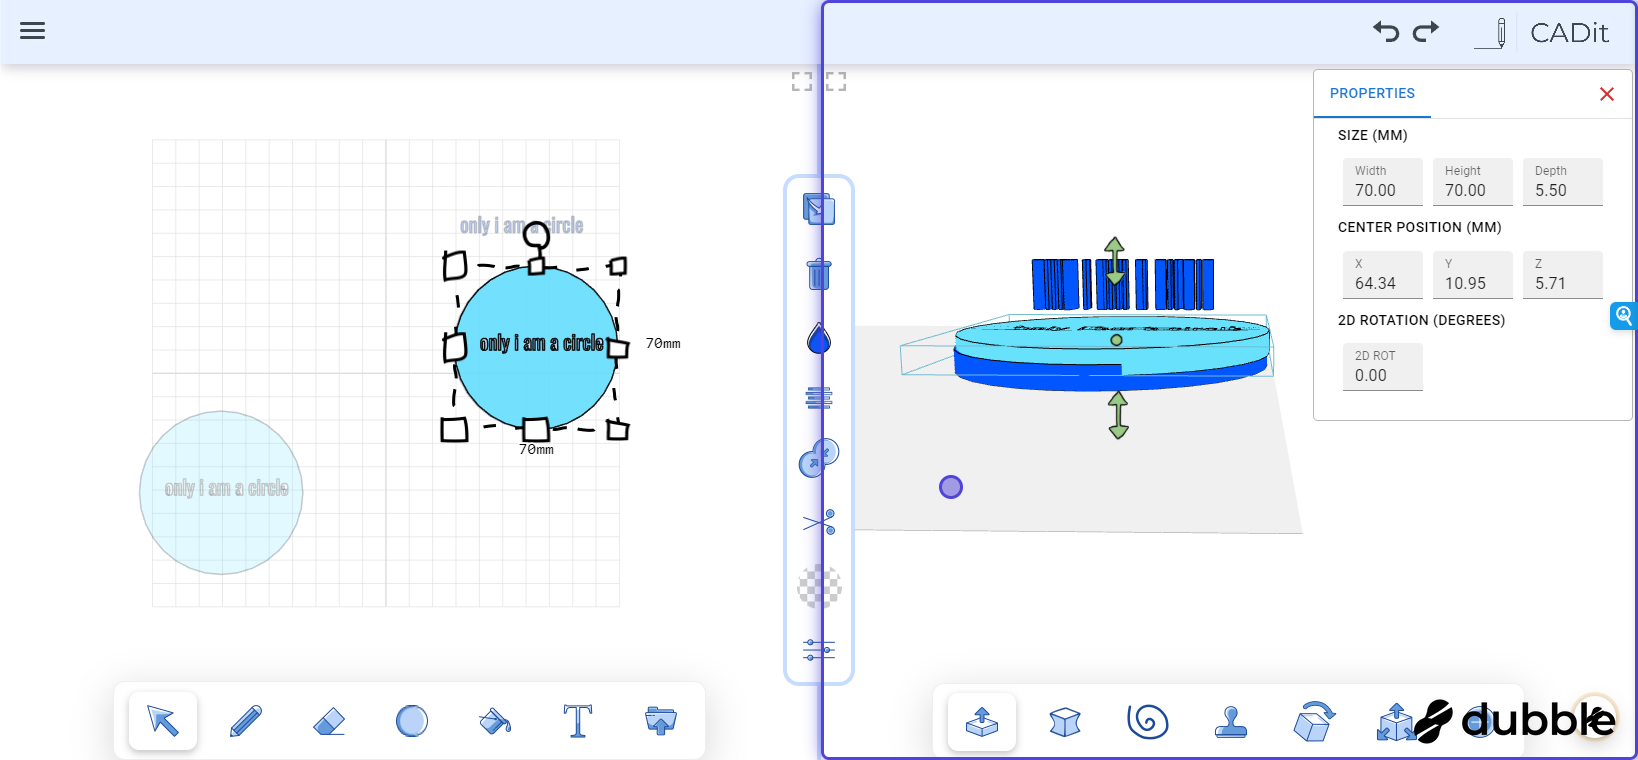
13. You can use the green arrows in the 3d view to make the circle thinner

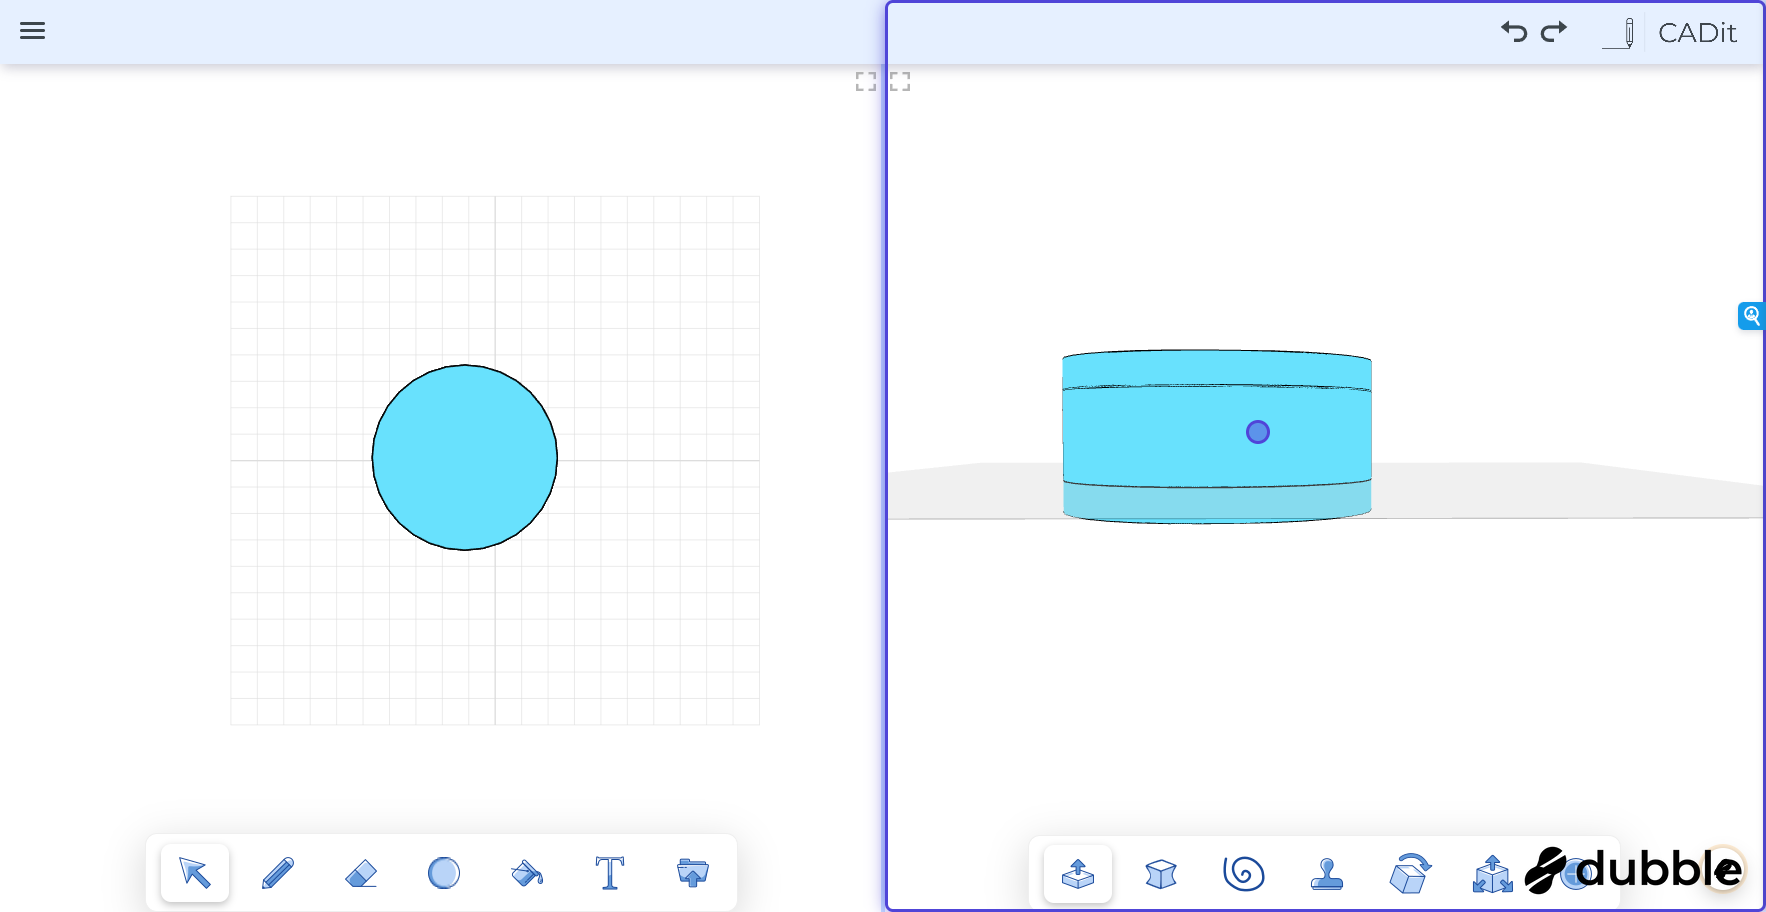
14. Draw a second circle, this will be the center

15. With the select tool, draw a box around the text circle to select it
The text has some floating parts in the middle. Drawing the box will make sure we select them all.

16. Click the duplicate button to copy the circle with text cutout

17. Using the 2d view move one of the circles with text on top of the center circle

18. Click and drag the green dot to raise the text circle above the center
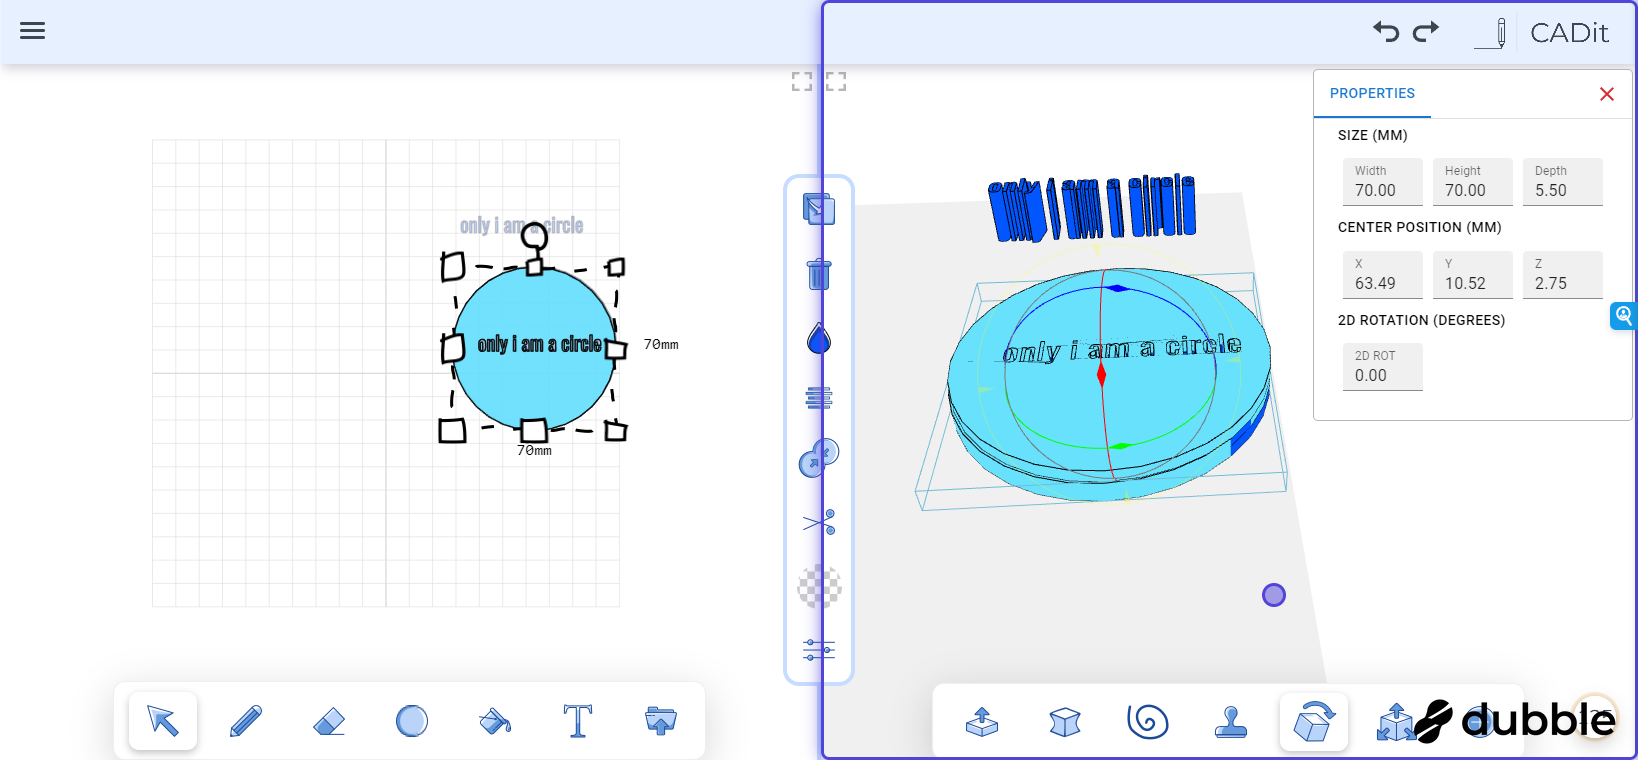
19. Draw a selection box to select the second circle

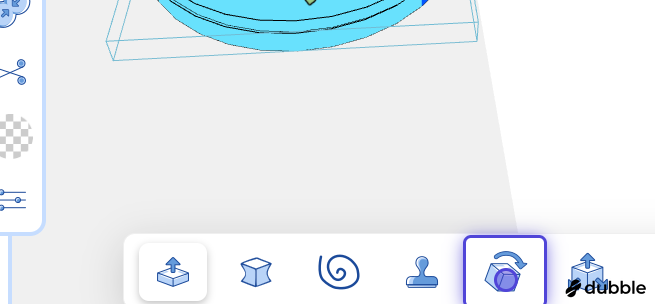
20. Select the rotate tool
21. Drag one of the rotation handles to rotate the text circle so the text is upside down
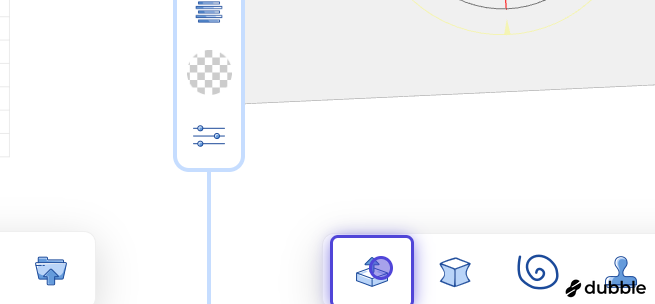
22. Click the height tool so we can move the circle down
23. Click the green dot in the center and drag the circle so it is below the center circle
24. Now the circles are stacked

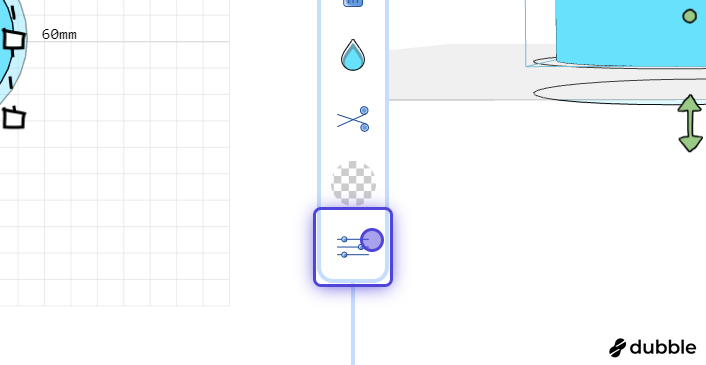
25. Let's make the middle circle thinner, click it in the 3d view
26. Click on the properties button
27. Edit the width and height of the center circle
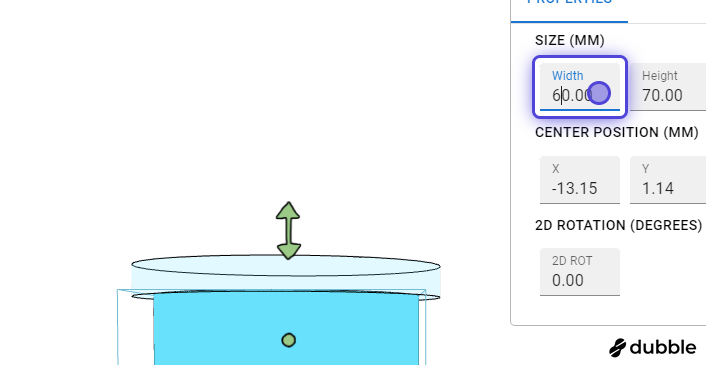
28. All done, now you can click export STL to get the file to print
